Local AI Using Ollama Guide & N8N Installation Using Docker
- Bernard Bryan Hayashi
- Jan 7
- 2 min read

AI adoption by businesses has accelerated rapidly in recent years. In Malaysia, growing concerns around data privacy, rising costs, and dependency on vendors, have driven interest in Local AI.
Local AI is the private AI server that is running in your premise, or a private AI subscription that the AI Virtual Machine is dedicated to your company.
Why Local AI?
a) Data Privacy and Ownership - Sensitive business data should not leave the organization.
b) Cost Predictability and Long-Term Savings - current cloud API is based on the prompt and hard to predict the cost.
c) Independent without vendor lock-in - may use open source AI software that allow for freedom to switch to different AI model, and workflow, etc.
Ollama Installation Guide
Download Ollama https://ollama.com/download/windows

Find the model you want to use

Select model’s parameter, you can ask chatgpt to help calculate the best parameters based on your laptop’s specifications

Copy the command

Run the command in command prompt or windows powershell

You can then start chatting with the model

Use ollama list to view installed models, and ollama run qwen3:8b to start chatting with Qwen3

You can also chat with the model through the Ollama app installed on your Windows laptop

FYI: This Qwen3:8B model was trained up to October 25, 2023
N8N Installation Using Docker
Install Docker Desktop on your laptop
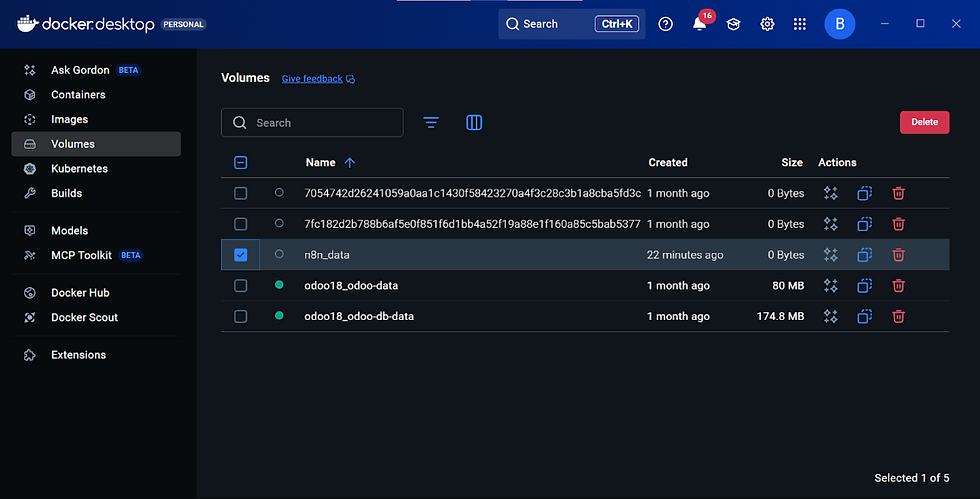
Go to Volumes and create a new volume named “n8n_data”
Go to Docker Hub and search “n8n”, then open and pull the “n8nio/n8n”


Go to Images and run the “n8nio/n8n”

Fill in the Optional Setting section with this value:


Replace ${your_path} with the folder path where you want to store your workflow files
Click Run and then you access n8n locally at http://localhost:5678/
Register a new account and don’t forget to request the free license key

If you see this page after clicking the link in your email, it means you have already activated the unlimited usage for n8n

Click the back icon and then you can start creating a workflow by clicking the “Create workflow” button

Comments